Installing the Voyager 105 - Mac OS 10.x
Before starting the software setup process, quit any programs you are running.
Important: Do not insert the blue USB cable until you are prompted to by the installation process, by removing the blue label at the rear of the modem.
Insert the Voyager 105 ADSL Modem CD into the CD ROM drive of your computer.
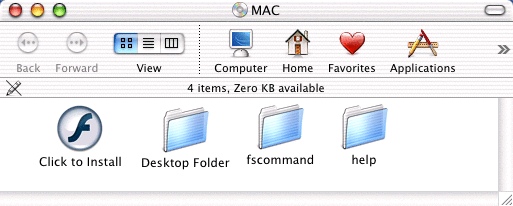
Click the MAC CD icon on the desktop.

Click on the icon labelled Click to Install.
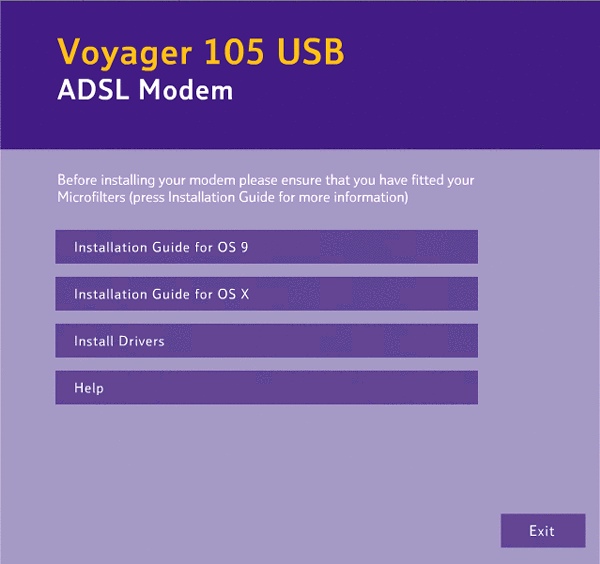
The start-up splash screen will appear giving you a number of options.
Click on the third button Install Drivers.
Ensure that you have read the eight points on the Getting started screen before clicking on
Install Drivers for OS X.

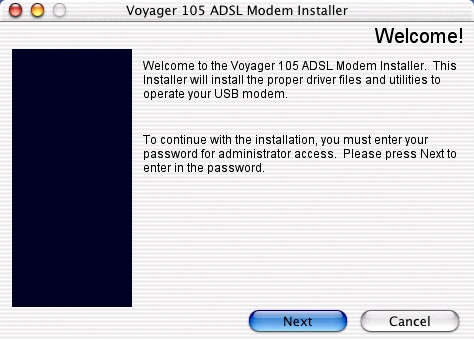
The Voyager 105 ADSL Modem Installer Welcome screen will appear. Click Next to continue.
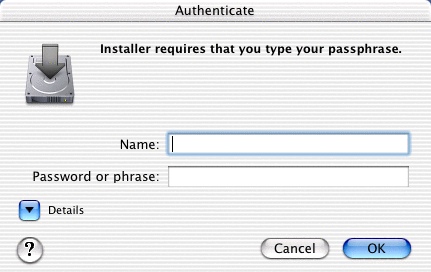
Before you can begin to install any files, you will need to type in your Administrator password. Insert your password and click OK to continue.
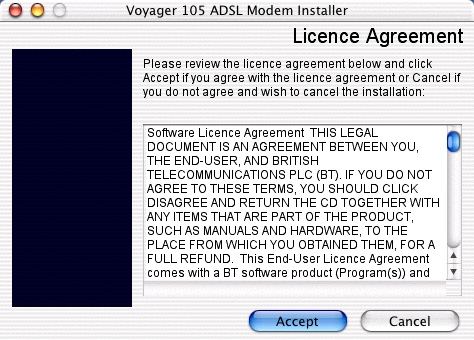
Click Accept to agree to the Software License Agreement, clicking Cancel will abort the installation process.
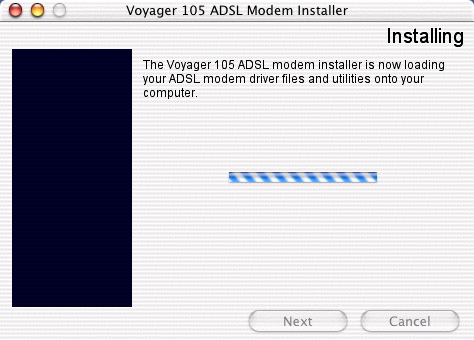
The modem installer will now load the modem driver files and utilities onto your computer.
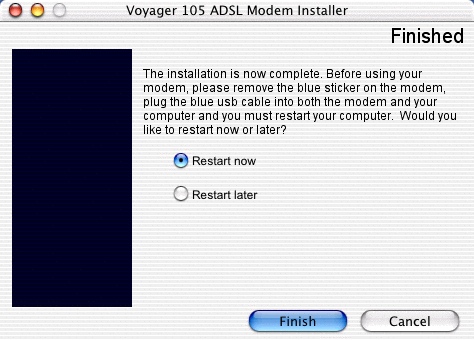
You will then be prompted to plug your USB cable into the computer and modem. Do so, then select Restart now, then click Finish.
When the computer has restarted, double click on the Hard Disk icon.

When the next window appears, double click on the Applications icon.

Then double click the Internet Connect icon.

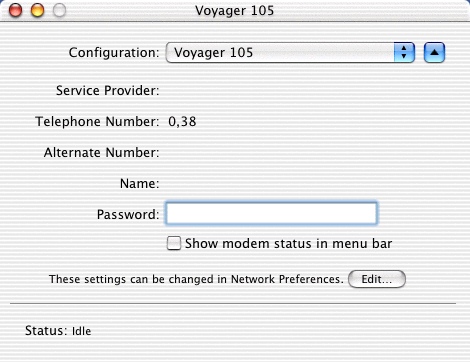
From the Configuration options select Voyager 105. Then click Edit to enter the Network screen. (Mac 10.3 customers: to access the window to edit your username you will need to double click on the System Preferences icon in the dock and then select Network.)
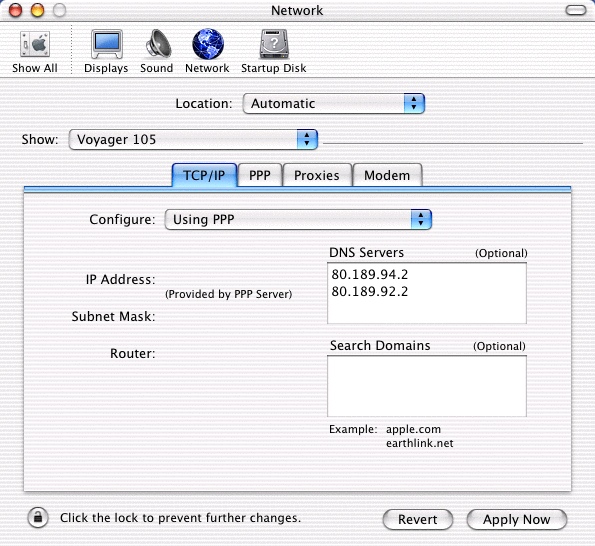
In the Network screen, click the Show bar and select Voyager 105.
In the Configure field choose Using PPP.
In the DNS Servers box enter the following details.
212.159.13.49
212.159.13.50
Click on Apply Now.
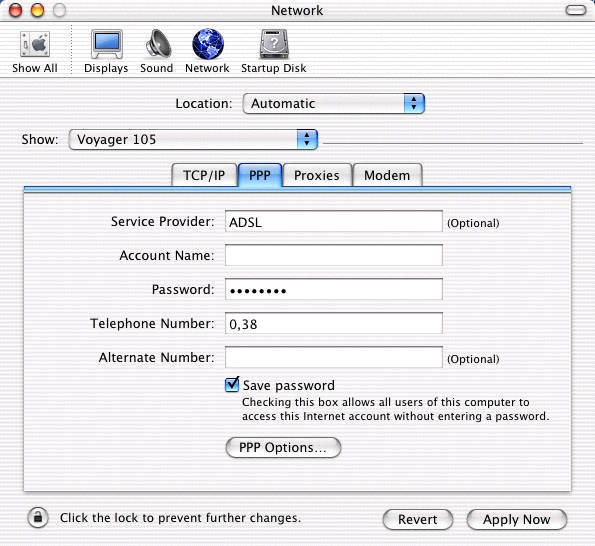
Click on the PPP tab.
In the Account Name and Password fields enter your ADSL user name and password that we have supplied to you.
Check that 0,38 is entered in the Telephone Number field.
Check Save Password.
Click on Apply Now.
You are now ready to connect. To do so you can open your browser or email program or use the Internet Connect icon found by double clicking on the Hard Disk and then double clicking on Applications.
Has this page helped you solve your problem? Your feedback helps us to improve the help we provide.
Rate this page : 


Please note: We cannot reply to individual feedback through Rate My Page. If you need more help with a problem please use Contact Us.


